Integrating the Script
Add the base script to your <head>, optionally activate first-party cookies after consent, and validate the integration.
Now that you understand how our scripts work and their importance for both optimization and GDPR compliance, let's integrate them into your website. This step is crucial to start leveraging Optimeleon's capabilities for continuous, AI-driven optimization. Adding the script is as simple as copying a few lines and pasting them on your page!
Add the base script to the <head>
The base script is responsible for selecting variants and tracking user behavior in a cookieless manner. It ensures instant page loading without flickering and complies with GDPR regulations by not using cookies – only memory.
Locate the <head> section of your website
- Access your website's HTML files or your CMS, where you can edit the HTML code.
- Find the
<head>section in your HTML. This is typically near the top of the file.
Paste the base script
- Log in to your account and visit the Script page.
- Copy the code, then insert the copied script tag within the
<head>section.

This script enables cookieless tracking (or first-party cookie tracking if you turn on manual consent) and instant variant selection based on factors like campaign URL, user data, collected optimization data, and AI prediction data.
Save and publish
- Save the changes to your HTML file or CMS template.
- Ensure the updated page is published and live on your website.
Activate first-party cookies after consent (optional)
When a user gives consent, execute the following function to activate first-party cookies:
setOptiCookieConsent('yes');This signals the Optimeleon script to start using first-party cookies for enhanced tracking across your site.
Option A – Through a consent management tool
If you're using tools like Google Tag Manager (GTM) or another CMP, configure them to execute setOptiCookieConsent('yes'); when consent is granted. Create a new Custom HTML tag that contains:
<script>
  window.setOptiCookieConsent('yes');
</script>
Set the trigger to fire this tag when the user consents.
Option B – Using a click event
If you have a custom consent prompt, add an onclick handler to your “Accept Cookies” button:
<button onclick="setOptiCookieConsent('yes');">Accept Cookies</button>Option C – Inline script after consent
Include the function in a script tag that runs after the user has provided consent:
<script>
  window.setOptiCookieConsent('yes');
</script>setOptiCookieConsent('yes'); is executed only after the user has given consent.Validate your script integration
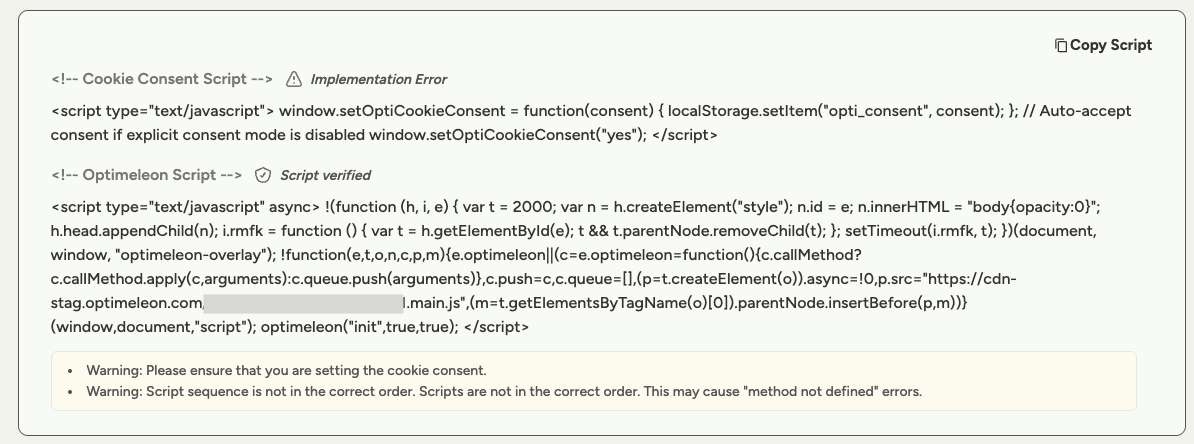
After integrating the scripts, it's important to verify that everything is working correctly.
- Use the validation tool. Visit our script validation page to check your integration – it gives you indications about a successful integration and provides helpful error or warning messages.
- Check tracking. Tracking is one of the main functions of the script. You can verify Optimeleon is able to track events by following the Conversion Events guide.
Perform manual checks
- Without consent: open your website in a private/incognito window. Before giving consent, ensure no Optimeleon-related cookies are set.
- With consent: provide consent through your prompt, then check that first-party cookies are now set.